Linking a Prescription Image to Multiple Prescriptions
The Link feature provides the ability to link a prescription's attachments to one or more prescriptions for the same patient, eliminating the need to manually print and attach images that already exist on the Patient Profile.
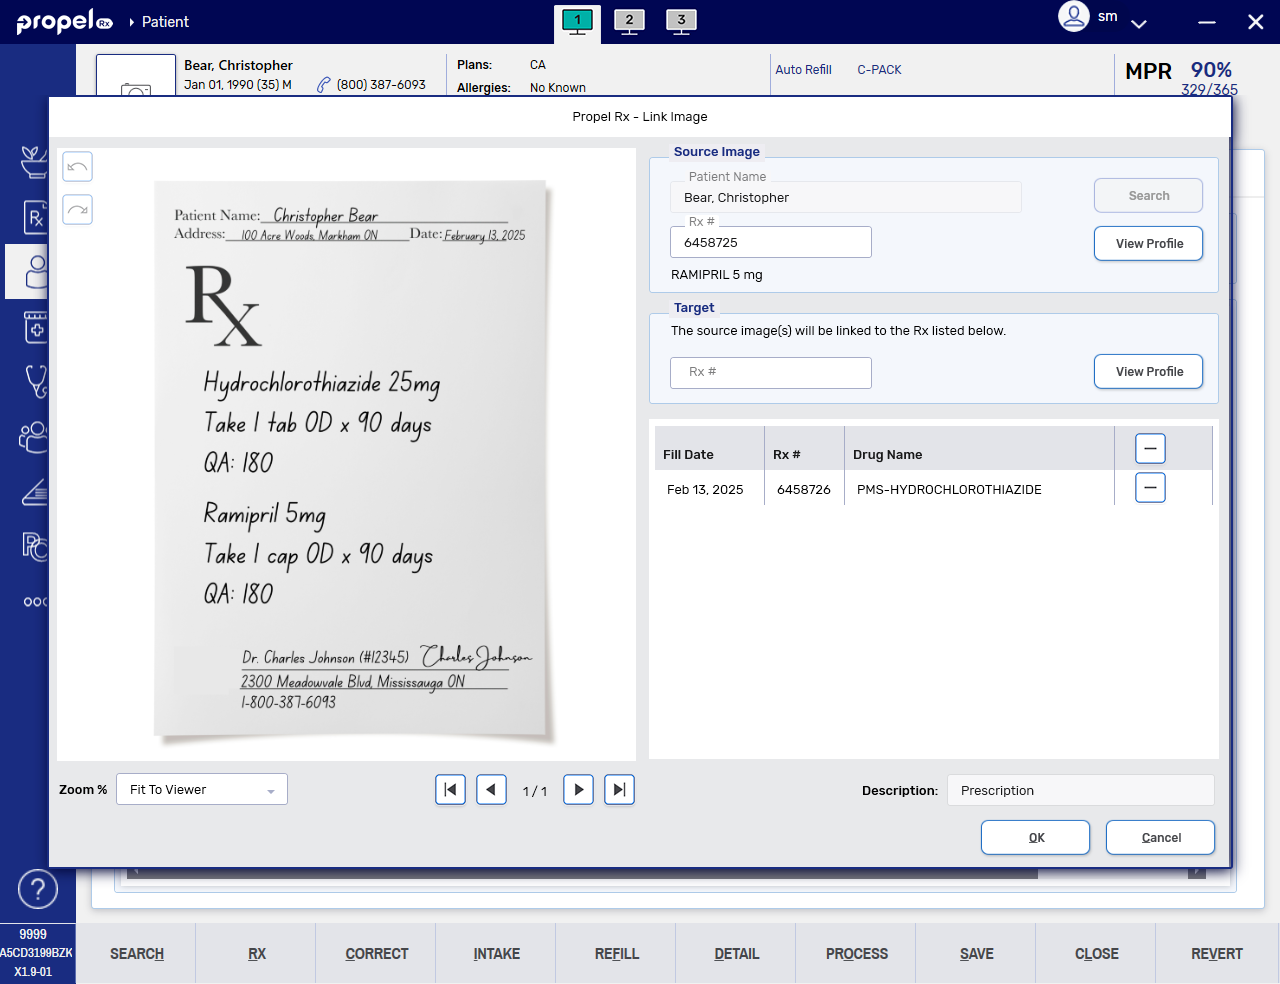
Overview of the Link Image Window
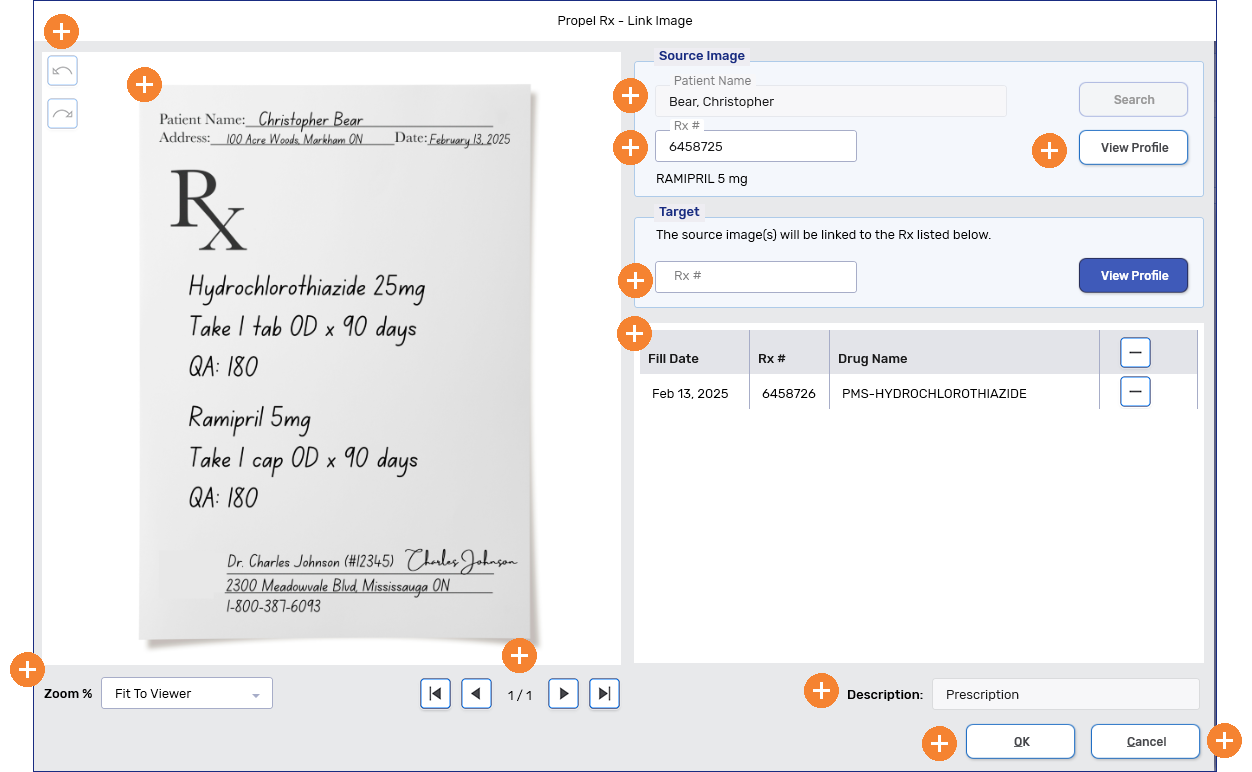
The Link Image window is where you will specify the source of the prescription images and the target prescriptions.
For more information on the Link Image window, select the expander icons  in the image below.
Linking a Prescription Image
-
Open the Link Image window from one of the following locations:
-
From the Rx menu, select Rx > Attachments > Link.
If the Rx menu is accessed from the Patient Profile, you must select a prescription first before opening the Link Image window.
-
From the Patient Folder Attachments tab, select the Rx Images action button > Link (ALT + L)
-
From Rx Detail, select the Attachments button
 to open the Review window > Link (ALT + L).

-
-
In the Source Image section, do one of the following:
-
If a patient was selected prior to opening the Link Image window, the patient’s name will auto-populate. Select the View Profile button and then select the prescription you wish to source the image from. Select OK.
-
If a prescription was selected prior to opening the Link Image window, the patient’s name and prescription number will auto-populate in the applicable fields. Confirm that this is the patient and/or prescription you wish to source the image from. If needed, you can remove the prescription number in the Rx # field and enter a new one manually or by using the View Profile button.
-
If no patient or prescription was selected prior to opening the Link Image window, select the Search button to search for and select the appropriate patient. Once a patient is selected, select the View Profile button. Select the prescription you wish to source the image from and then select OK.
Only one prescription can be selected for the source image(s). If multiple prescriptions are selected, the Link button will be disabled. However all images from the source prescription will be linked to the target prescriptions.
-
-
Rotate the source images if needed using the left
 and right
  rotation buttons. The orientation will be saved for the source and target prescriptions. Select the left
 and right
 arrow buttons to navigate to the other images if applicable.
 -
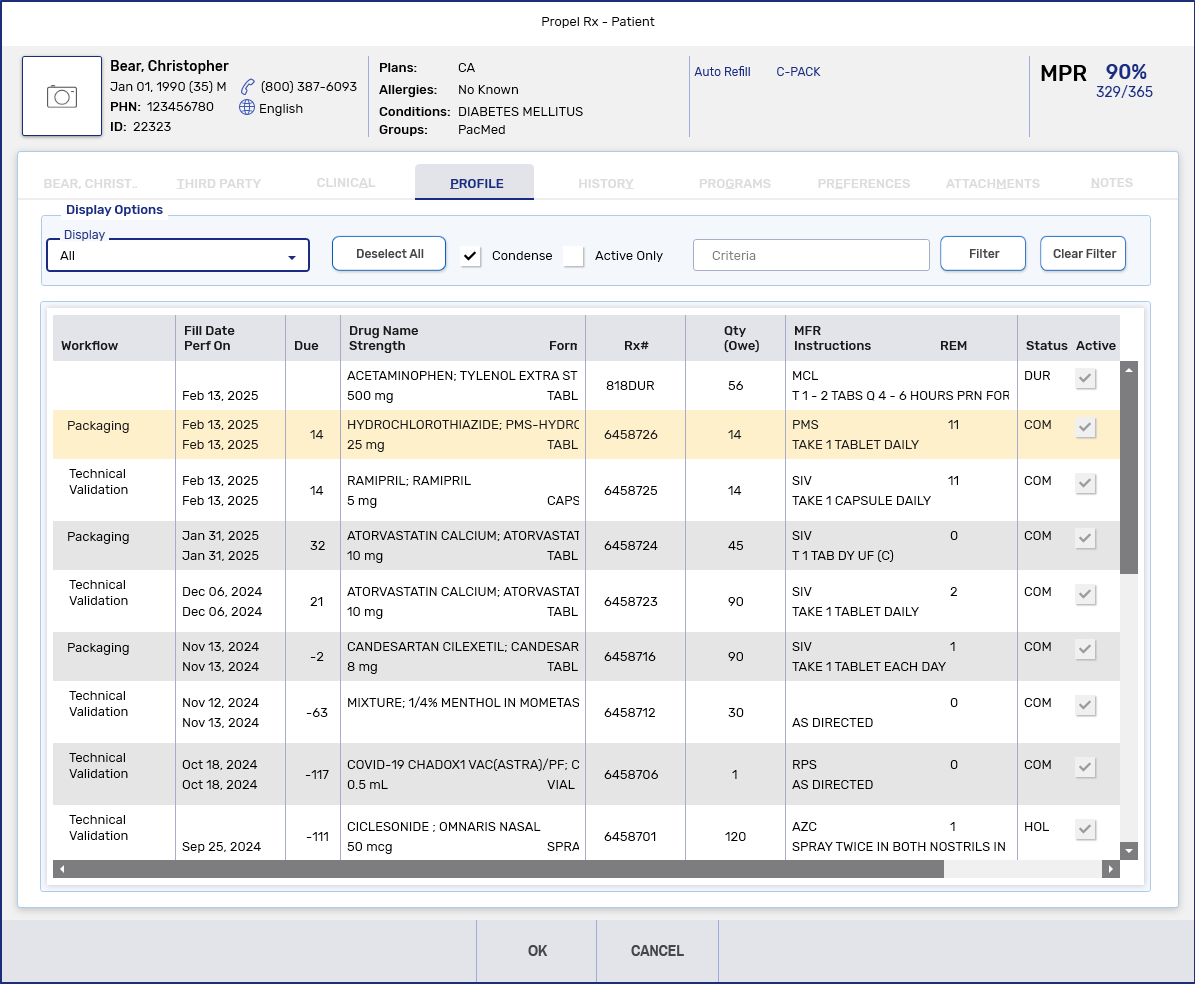
In the Target section, select View Profile. The Patient Profile opens displaying prescriptions of all statuses, including those with a Rx # of 0 (e.g., Amend Next, Transferred).
-
Select one or more prescriptions to receive the linked image(s).
The following validations can occur when choosing a target prescription(s). Select the dropdowns below to learn more.
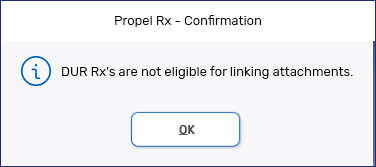
 DURs
DURs
You cannot add attachments to a DUR. The following prompt will display if this is attempted.
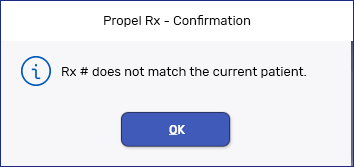
 Prescription number does not match patient
If you manually enter a prescription number that does not match the patient chosen in the Link Image window, the following prompt appears.
-
Select OK. The selected prescriptions will be visible at the bottom grid of the Target section.
-
Review and ensure the correct prescriptions have been selected. If any target prescriptions were chosen in error, remove them from the grid by selecting the minus button
 .
. -
Select OK.
-
All the source image(s) are copied over to the target prescription(s) with a Description of "prescription." The images can now be viewed from the target prescription’s attachments.
-
If there are any source image(s) that do not need to be attached to a target prescription, remove the image from the target prescription by following the steps in Removing an Attachment. The image will only be removed from the target; it will be retained on the source.
-