Creating Owe Balances
As a prescription moves through Workflow, you will have the option to create and edit an Owe Balance if needed. The Owe Balance will be assigned the same prescription number as the initial fill but processed separately from the initial fill.
-
Initial fill - refers to the initial amount of medication you give to the patient while they wait for the remaining balance of their prescription.
-
Owe balance - refers to the outstanding amount of medication you owe to the patient.
All Owe Balances are created from the Owe Balance window, that can either be opened automatically upon prescription Fill or manually.
Automatic Prompting for Owe Balance Creation
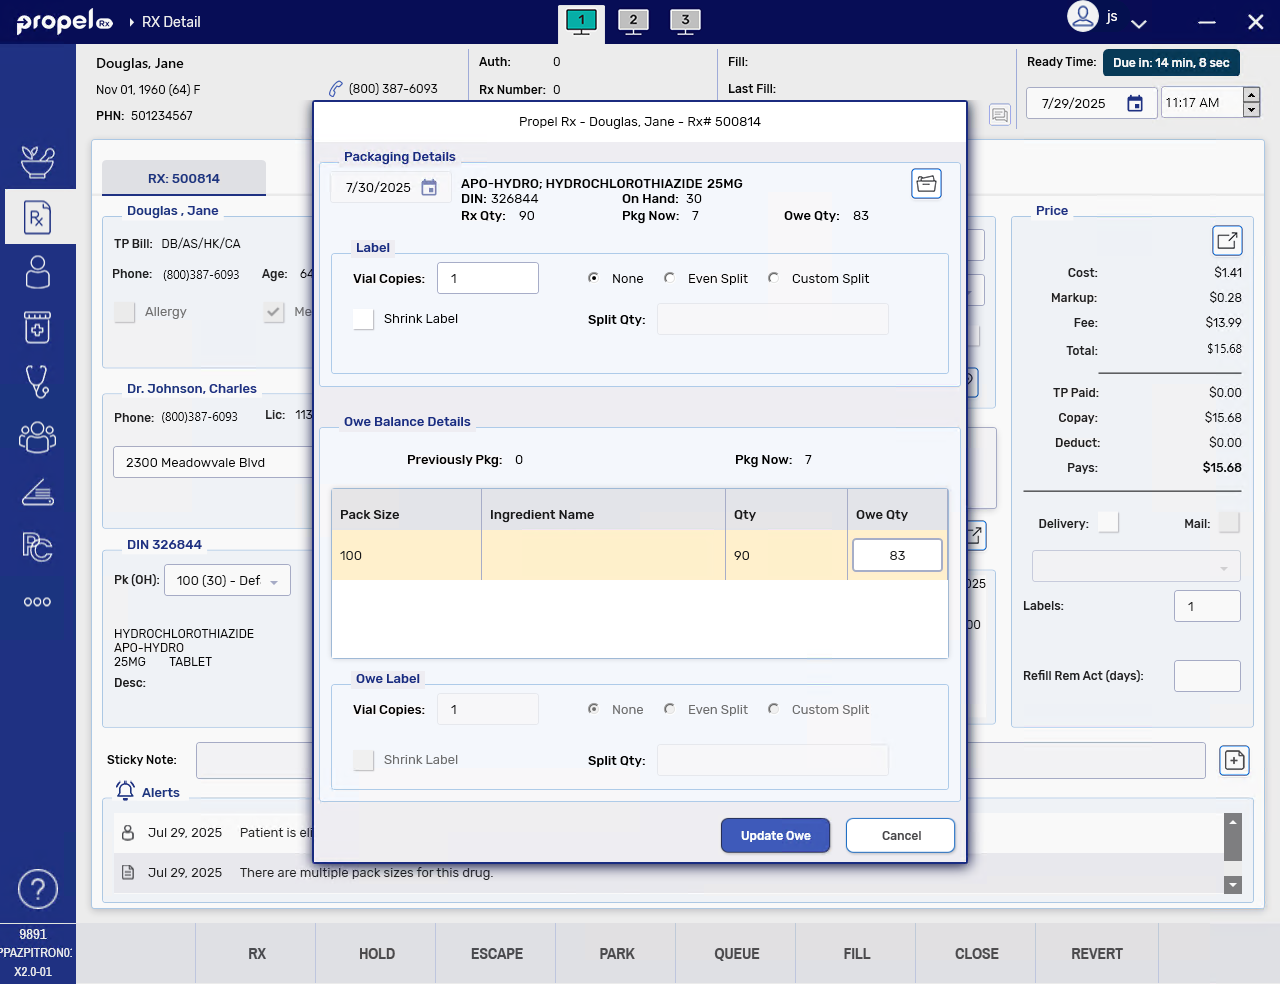
When a prescription is Filled, Propel Rx checks the Qty entered for the prescription against the On Hand of the drug. If there is not enough On Hand to fulfill the prescription, the Owe Balance window opens automatically in Rx Detail. This allows you to create Owe Balances for Monitored drugs conveniently at the Data Entry step.
In certain scenarios, the Owe Balance window will not appear automatically upon Fill. To review these exceptions, select the dropdown below.
-
When a prescription is processed in a Batch, Propel Rx will assume the Owe Qty based on the Owe Balance Days Supply setting, so the Batch runs without interruption.
-
When a Retail or non-retail Packager prescription is Filled, the entire prescription quantity is sent to the packager and no Owe Balance is created.
-
Fill a prescription for a drug with insufficient On Hand.
-
The Owe Balance window opens automatically in Rx Detail. In the Owe Balance Details section, update the Owe Qty if needed.
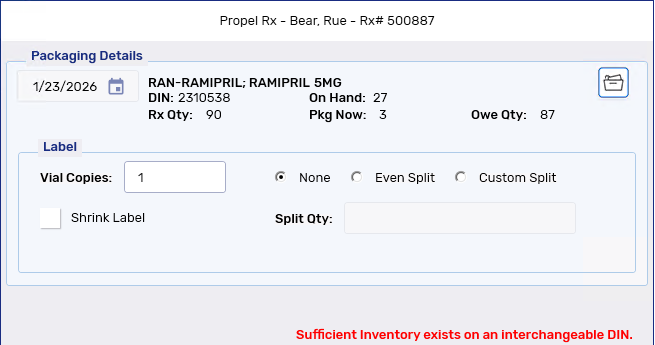
 Sufficient Inventory exists on an interchangeable DIN
If there's enough on Hand for an interchangeable, this message appears in the Owe Balance window. Select Update Owe to continue processing the current brand and incur an Owe Balance or select Cancel and switch the drug to the in stock interchangeable before filling again.
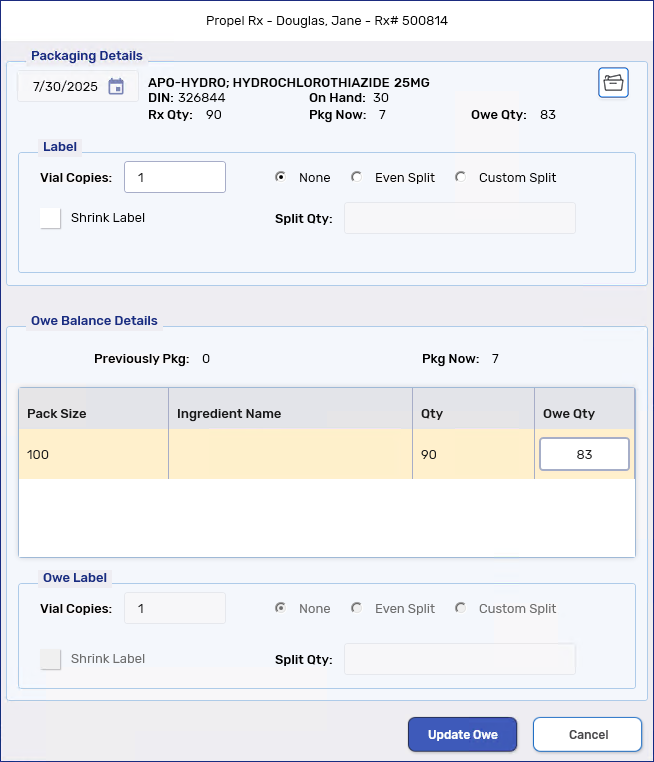
The Owe Balance Days Supply setting is used to calculate the default Owe Qty that auto-populates in this window. Modify this setting if needed to reflect the days supply your pharmacy usually gives for an initial fill.
-
Press TAB on your keyboard.
-
Select Update Owe.
Manual Owe Balance Creation
The Owe Balance window can also be opened manually. This is the only way to create an Owe Balance for an Unmonitored drug.
To create an Owe Balance manually:
-
Open the Owe Balance window using one of the following methods:
-
Prior to Filling a prescription in Rx Detail, select Rx > Owe Balance.
-
Process a prescription into Packaging (if the queue is enabled) and select the Owe Balance expander button
 next to the Attachments button.
 -
Process a prescription into Technical Validation or Clinical Review, select Rx > Owe Balance.
-
From the Patient Profile, select the prescription and then Rx > Owe Balance.
-
From the Workflow Workbench, select the prescription and then Rx > Owe Balance.
-
From the Pick Up/Delivery tile, select the prescription and then Rx > Owe Balance.
-
-
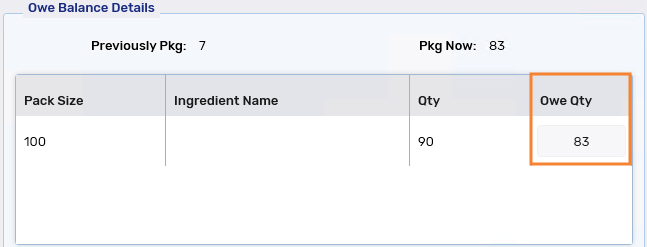
In the Owe Balance Details section, edit the Owe Qty field if needed.
Owe Qty Field is Disabled
If Packaging is ON and the initial fill already completed Packaging, the Owe Qty cannot be edited. This ensures the initial fill Packaging record remains accurate. If needed, you can Reject the prescription back to Packaging to make adjustments to the Owe Qty.
-
Press TAB on your keyboard.
-
Select Update Owe.
When Digital Owe Balance is ON, manually created Owe Balances will show up in the Parked Rx tile, just like those created through Rx Detail prompts.
Owe Balance Display
Once an Owe Balance is created, it is displayed in the following locations.
The Owe Balance quantity appears in red below the prescription Qty. If Digital Owe Balance is ON, the Workflow status of the Owe Balance also appears in red below the initial fill's Workflow status.
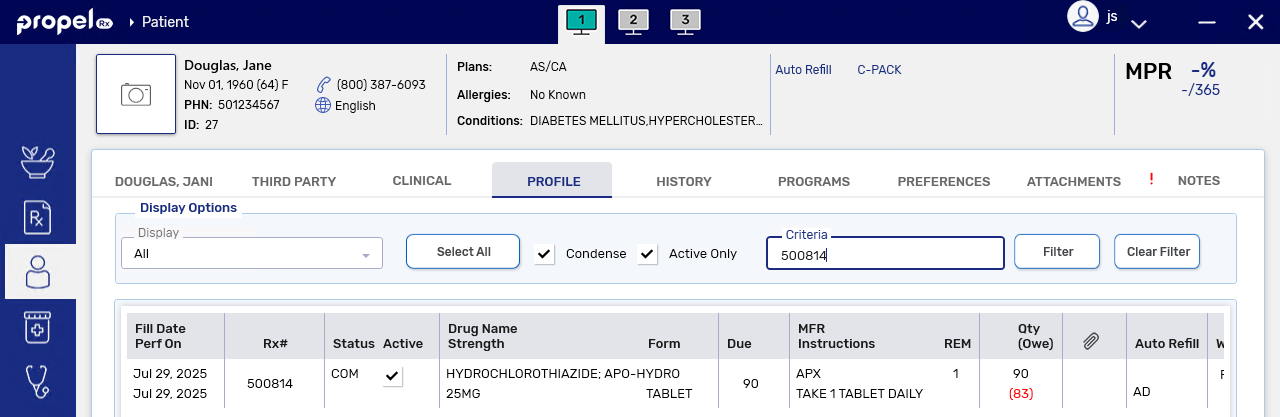
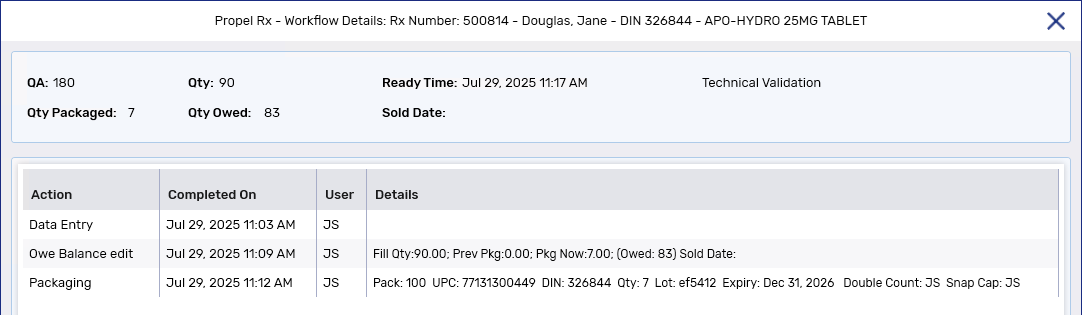
Owe Balance edit rows are added each time the Owe Balance is updated and the Qty Owed at the top displays the current Owe Balance.
The Qty Owed appears in red in the prescription section.

For more information on this report, see Owe Balance Report.
What's Next?
-
If Digital Owe Balance is ON, proceed to Processing Owe Balances With Digital Owe Balance ON.
-
If Digital Owe Balance is OFF, proceed to Processing Owe Balances With Digital Owe Balance OFF.