Splitting a PrescribeIT® Prescription
A PrescribeIT® prescription can be split into a maximum of 5 prescriptions.
To split a PrescribeIT® prescription:
-
From the Workbench > Data Entry queue, select the PrescribeIT® prescription.
-
Select Process. The Intake window opens.
-
Synchronize the patient and prescriber if they have not been previously synchronized. For more information, see:
The patient and prescriber must be synchronized before a PrescribeIT® prescription can be split.
-
If the prescription is part of a bundle, navigate to the prescription requiring a split using the left

 and right arrow
 buttons.
 -
Select the Split Rx button
 . The Split Rx Reason window opens.
-
Enter the following information in the Split Rx Reason window:
-
Reason - select the reason for splitting the prescription.
-
Comments - enter any comments related to the split. This is optional unless a reason of "Other" is chosen.
The reason and comments will be applied to all prescriptions created from the split. This information can be updated if needed by following the steps in Editing the Reason and Comments for a Split Rx.
-
-
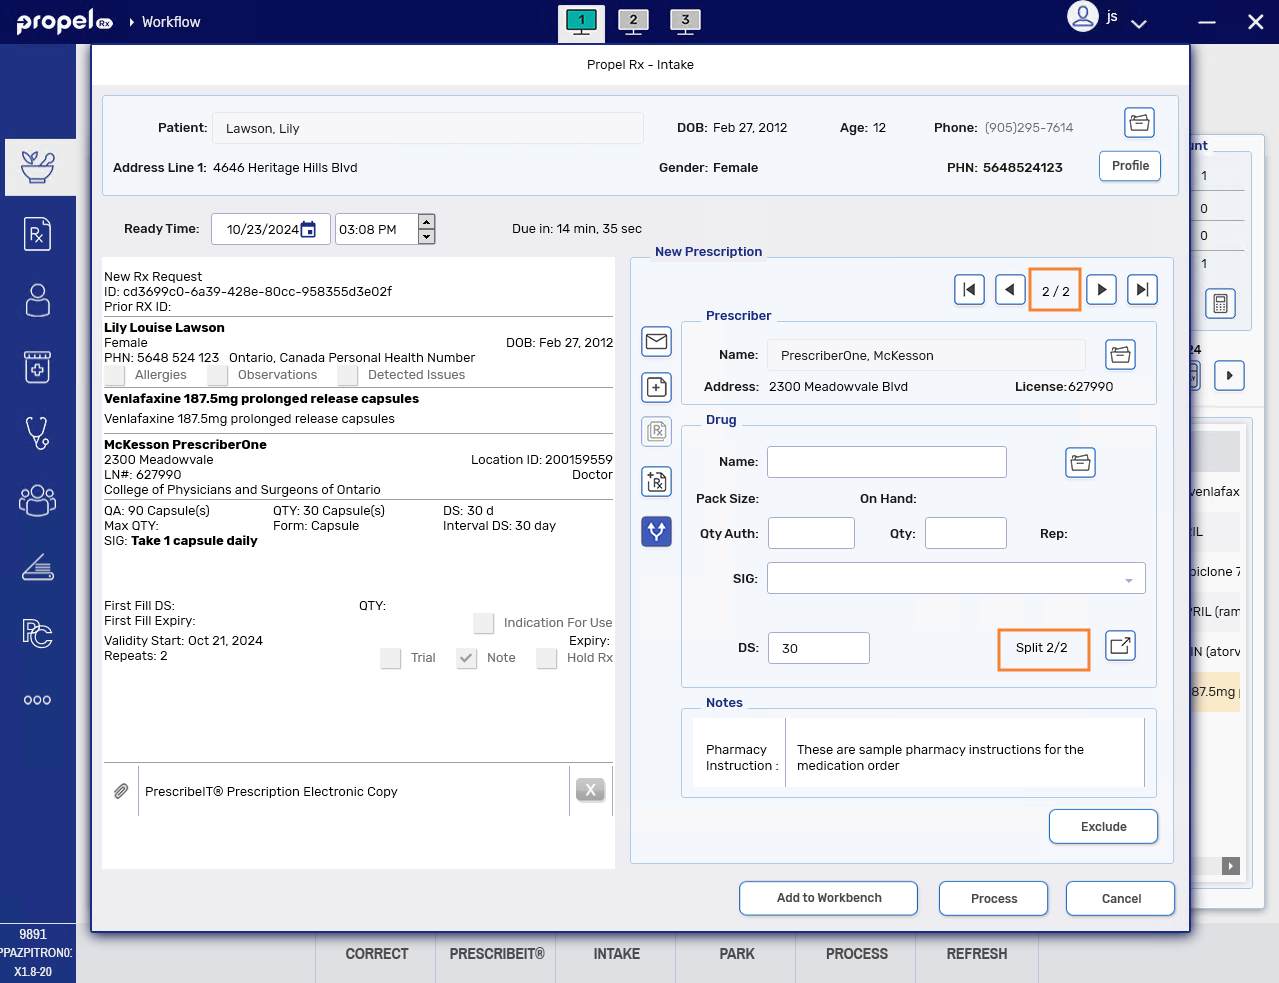
Select OK. A new shell will be added to the Intake window with PrescribeIT® image, prescriber, days supply, and any notes entered by the prescriber carried over from the original prescription. A counter will appear at the bottom right to indicate which prescriptions are part of the split and the total number of prescriptions in the split.
If you accidentally added a new shell in error, select Exclude to remove it from the Intake window.
-
Do one of the following:
-
If the drug is new for the patient, enter the remaining prescription information in the right panel.
You cannot enter multiple drugs using a forward slash (/) in the Drug field. If multiple drugs are entered and separated with a forward slash, Propel Rx will only search for the first drug entered.
-
If the drug is already on the patient's Profile, select the Profile button > highlight the applicable prescription from the Profile > select ReAuth. This will automatically link the prescription to the previous fill. Validate the information that's pre-populated from the previous fill before proceeding.
-
-
If additional prescriptions need to be split, select the Split Rx button again and repeat step 8 for each prescription in the split.
-
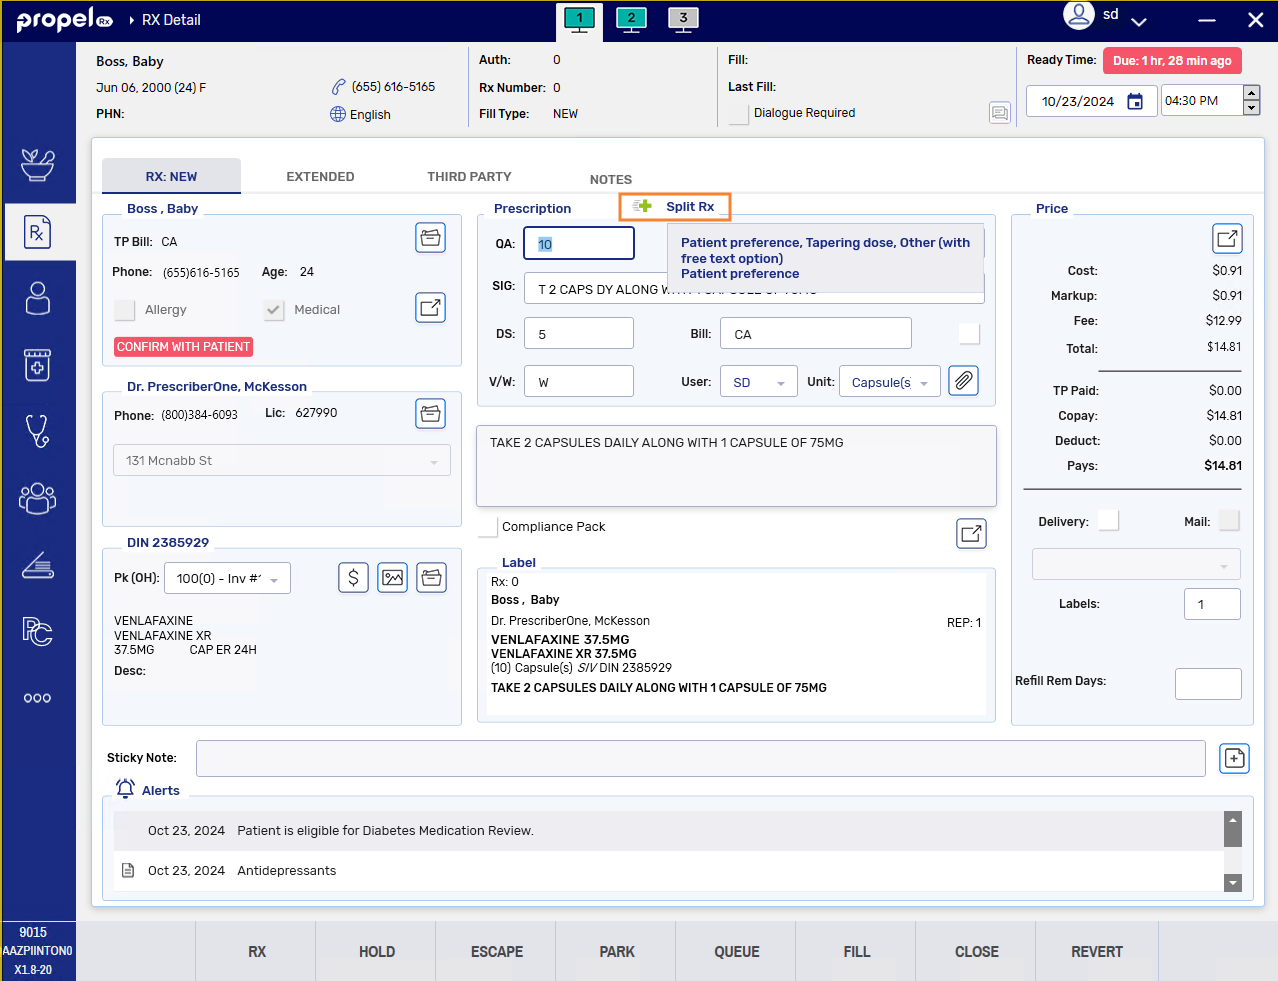
Once you have confirmed the fields for each prescription in the Intake window, select Process. The first prescription in the split opens in Rx Detail. A Split Rx indicator displays in the Prescription section.
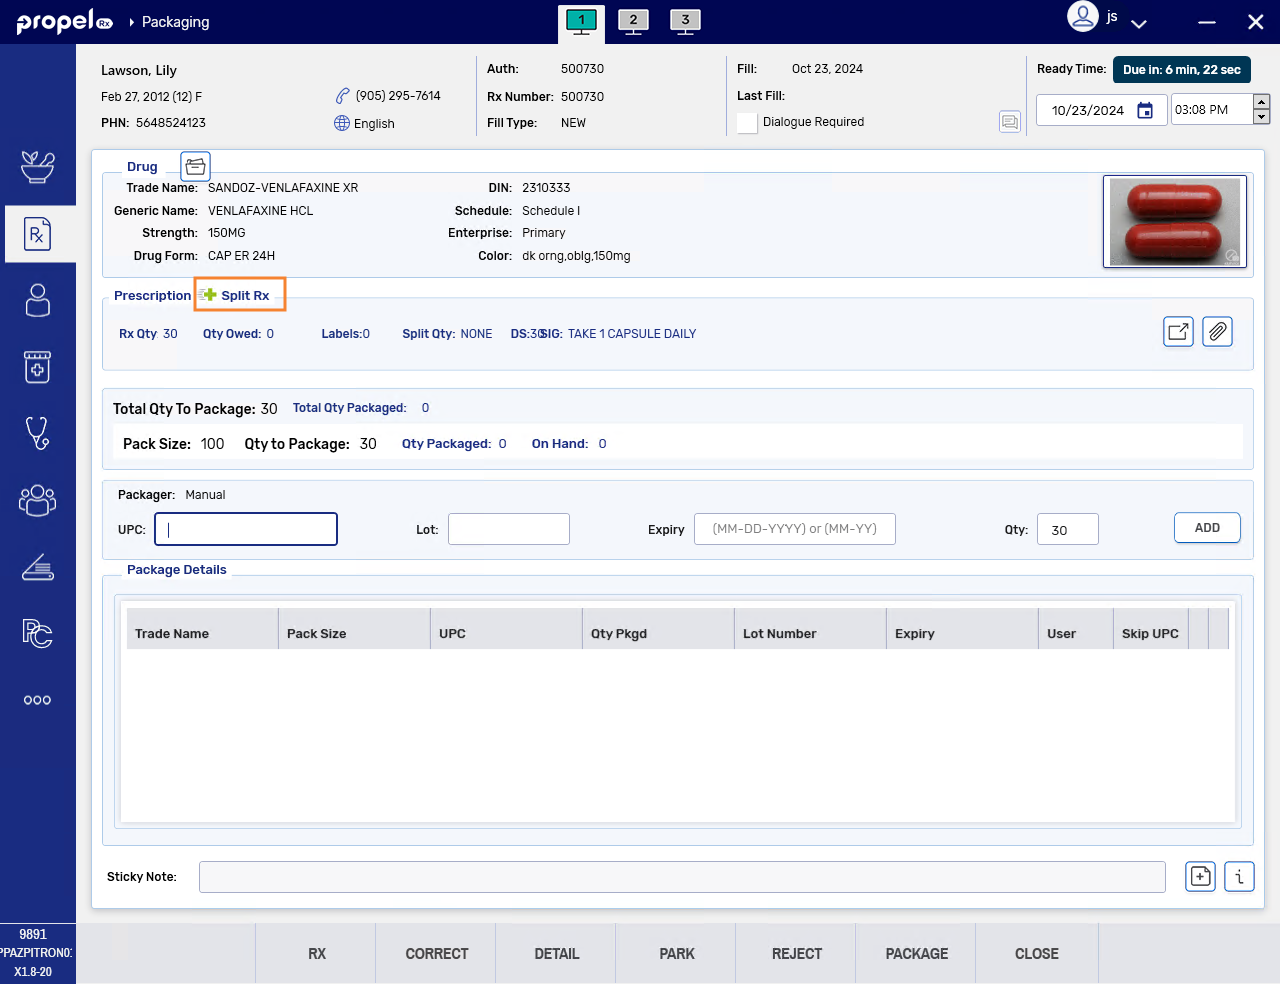
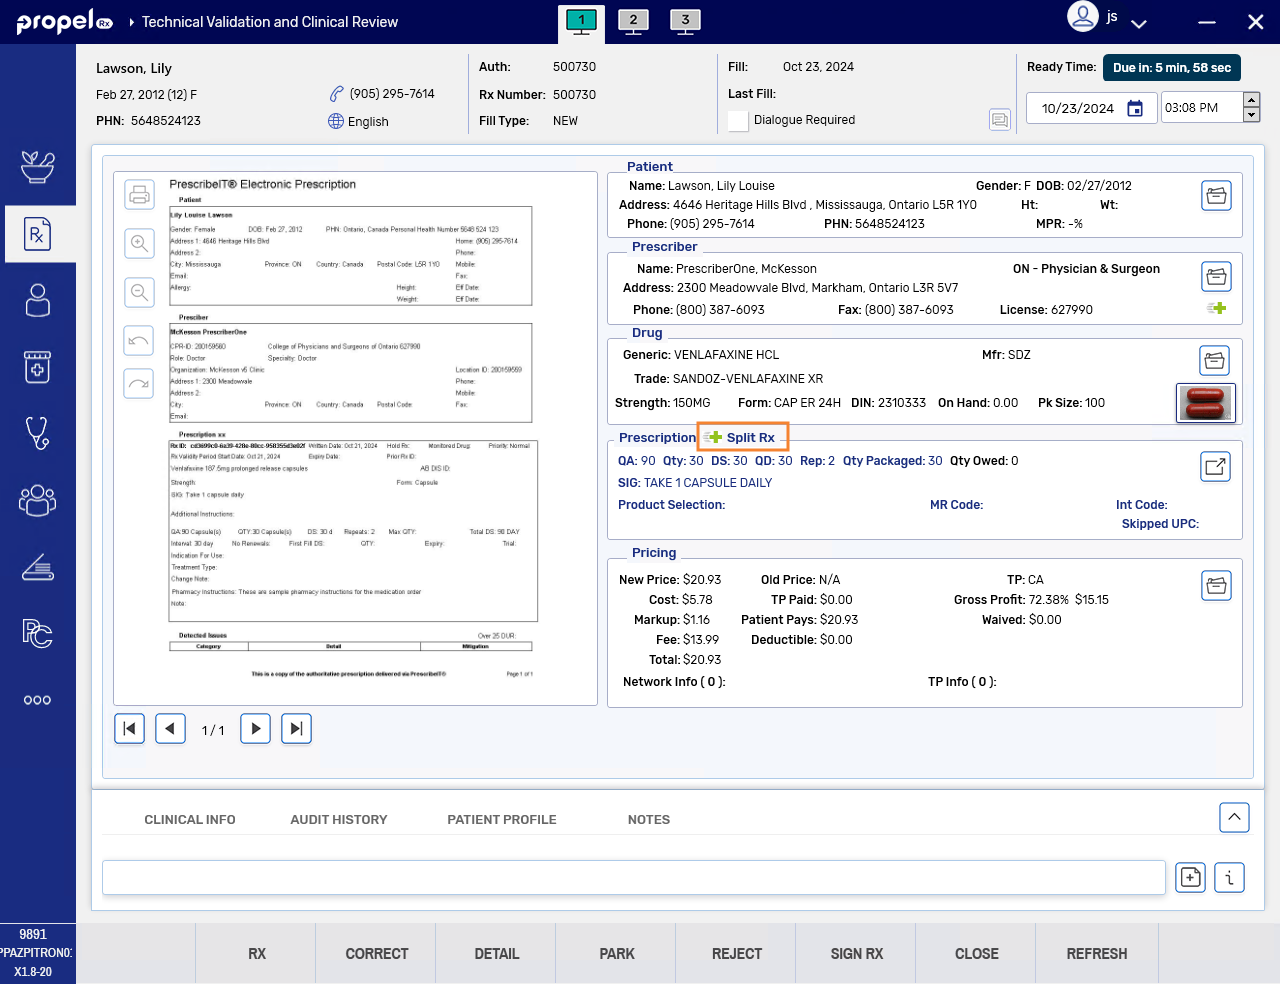
In any Workflow window (i.e., Rx Detail, Packaging, Technical Validation, Clinical Review), you can hover over the Split Rx indicator to view the reason and comments entered for the split.
-
In Rx Detail, dropdown the Unit field and select the appropriate dispensing unit of measure, if it's not already selected.
-
Once all information in Rx Detail has been validated, select Fill to fill the prescription.
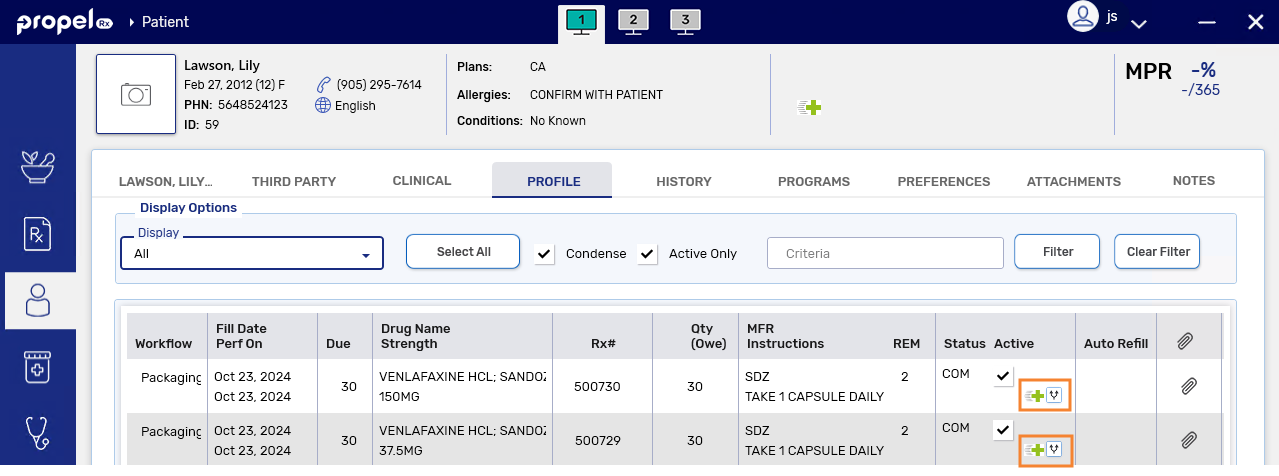
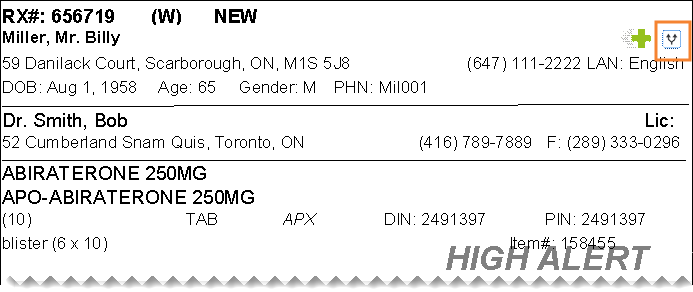
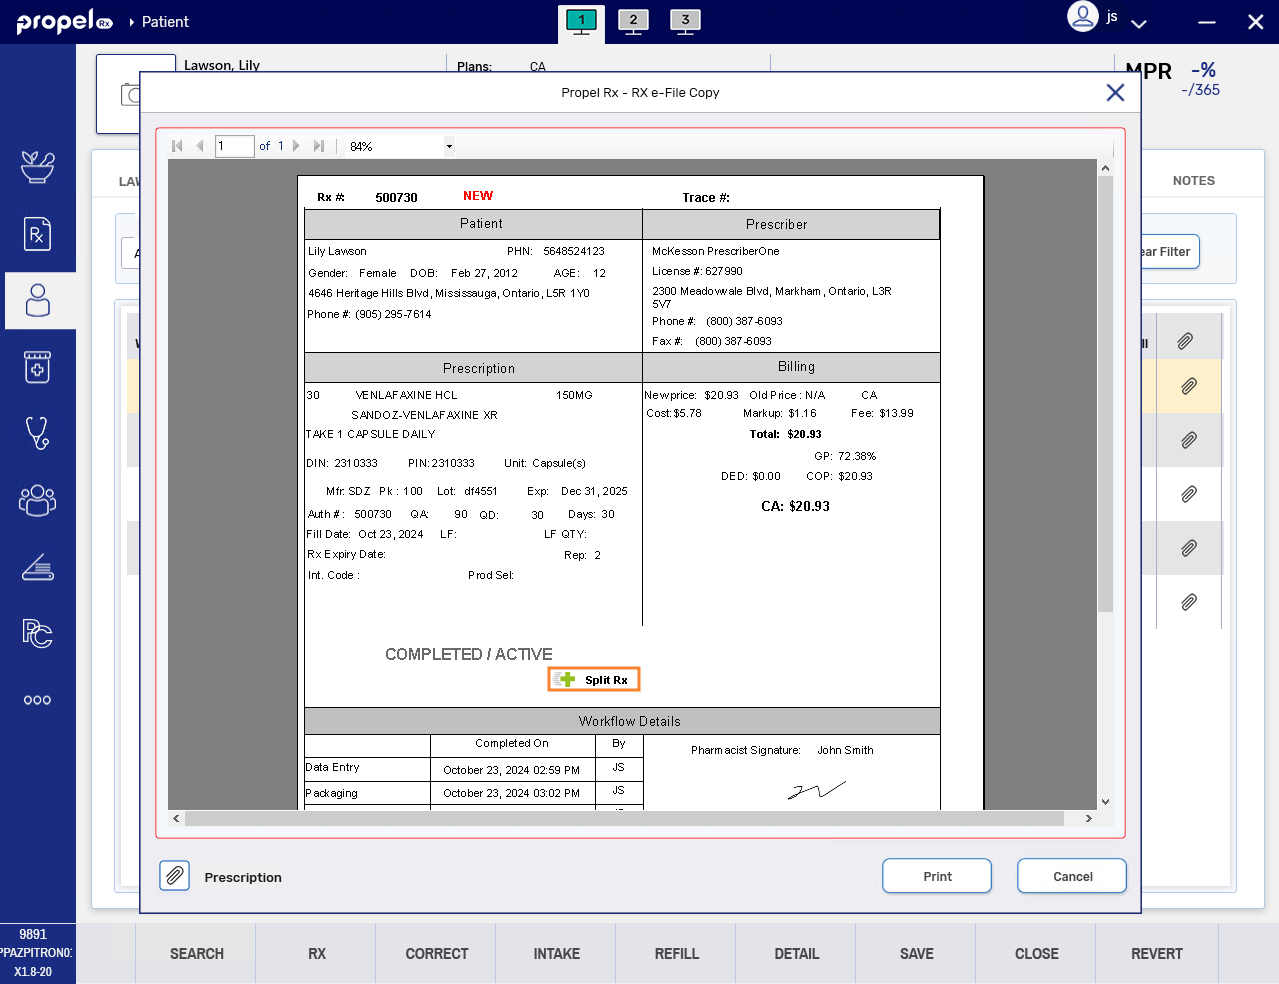
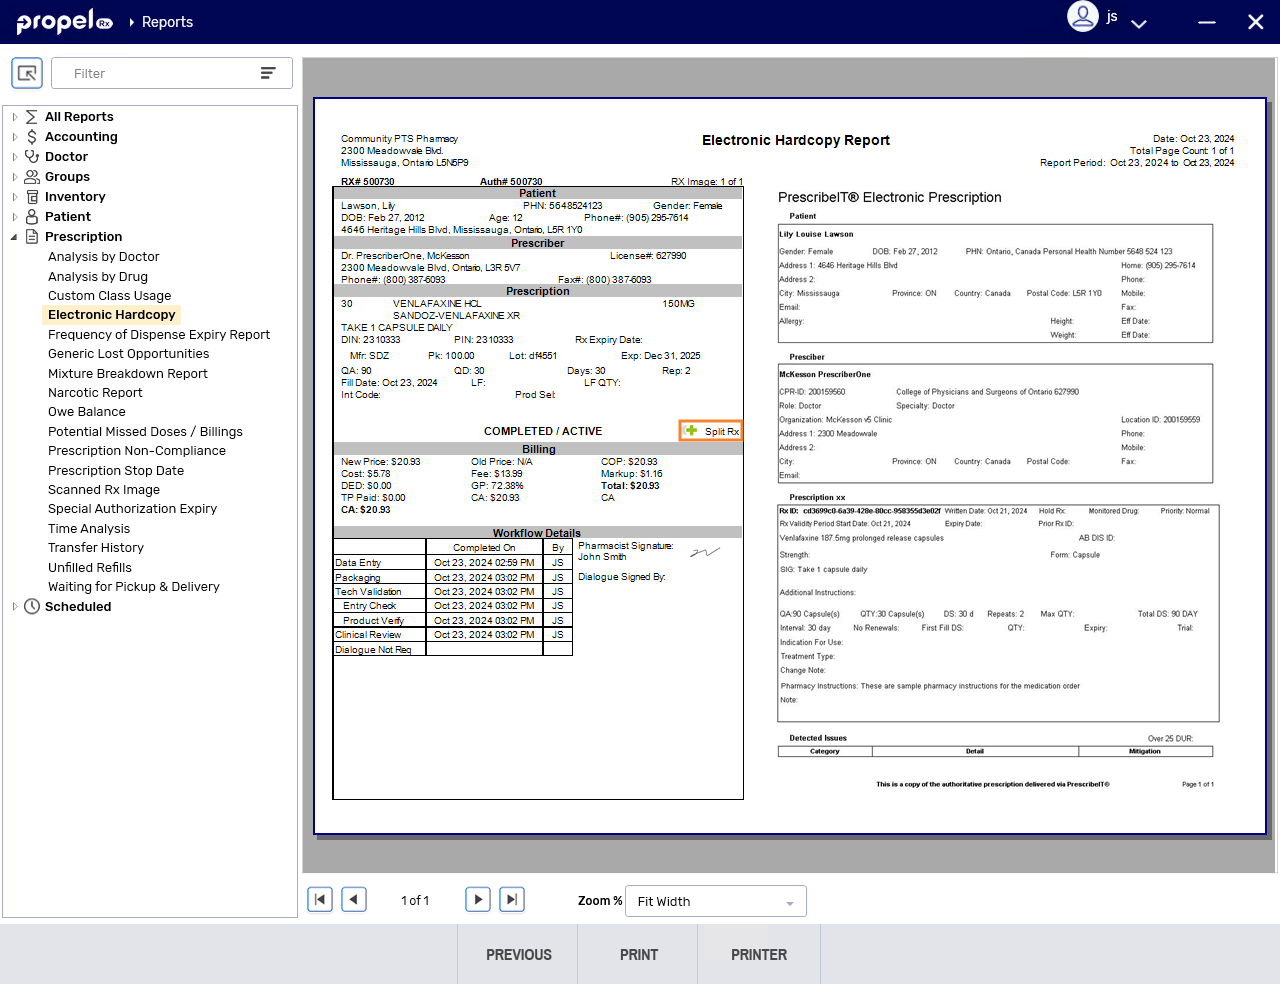
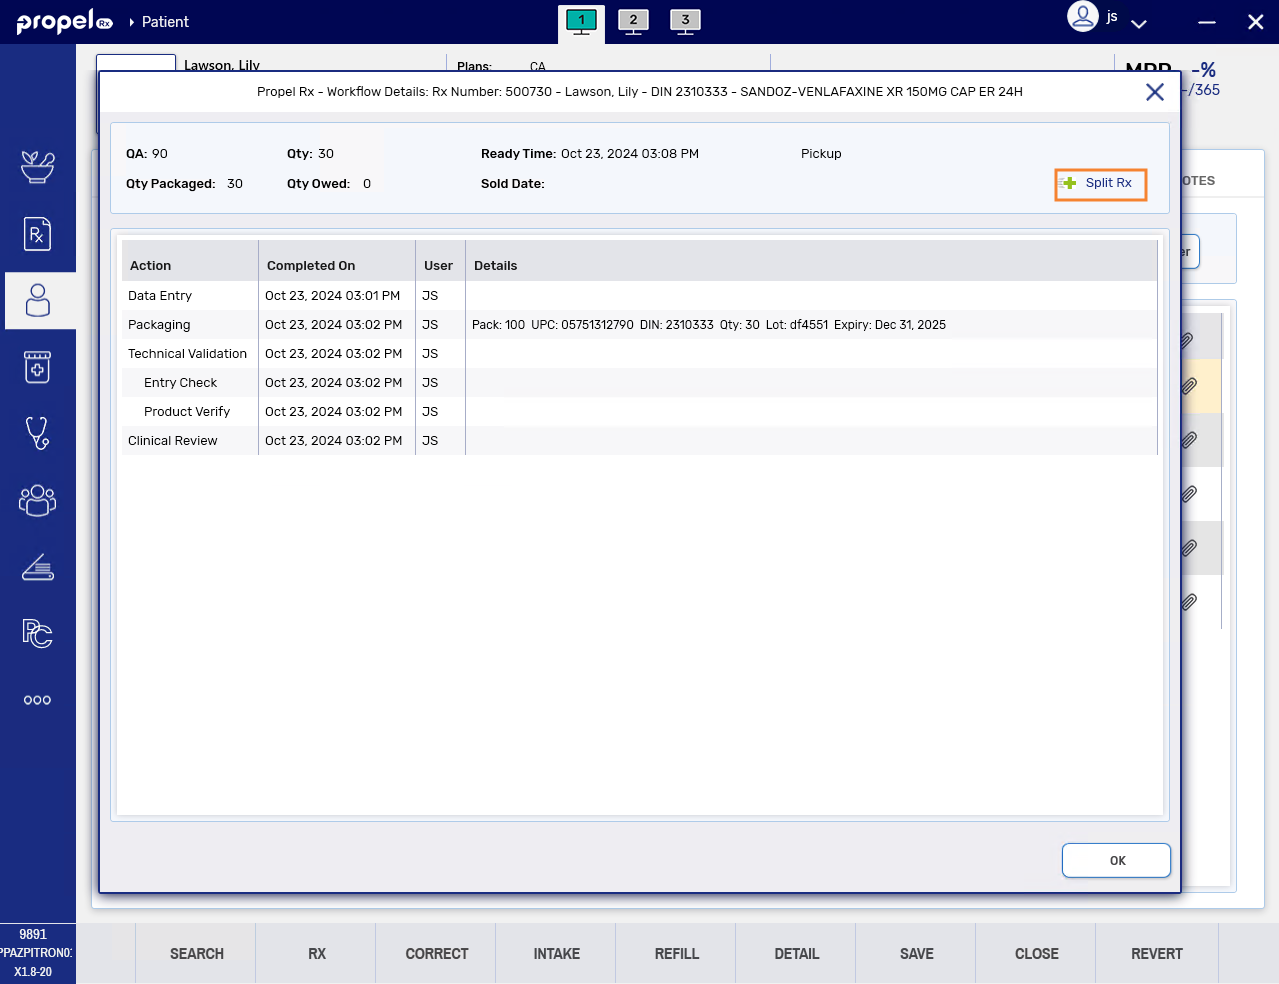
As the prescription moves through Workflow, as per your Workflow Preferences, a Split Rx indicator will appear in the following locations for the prescriptions that are part of the split Group:
