Transmitting the Central Fill/Non-Retail Packager File
-
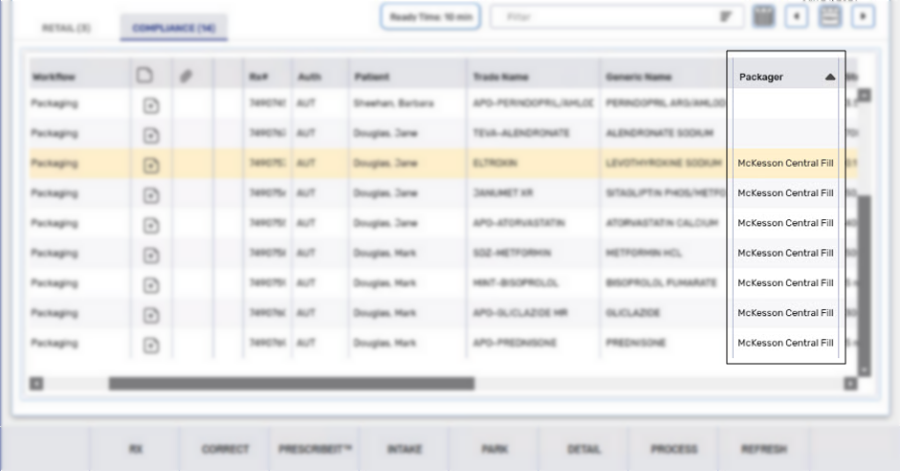
From the Workbench, select the Packaging queue.
-
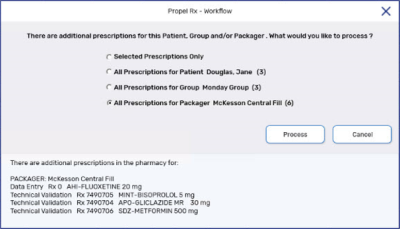
Select Process. A prompt displays.
-
Select All Prescriptions for Packager for the initial file transmission.
-
Select Process. The Compliance Automated Packaging window appears.
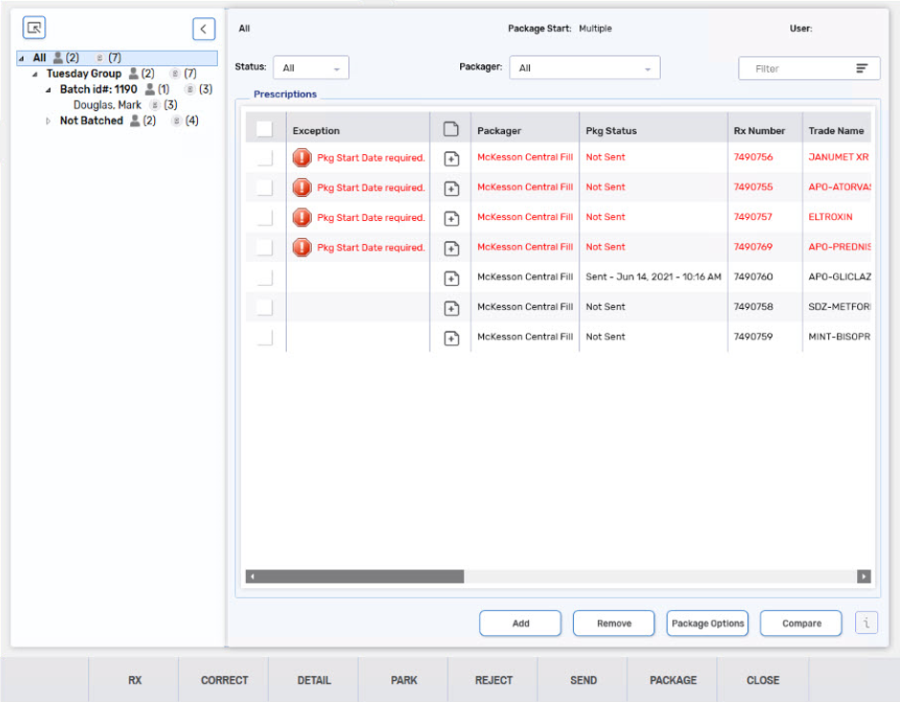
For more information, see Compliance Automated Packaging Window Overview.
-
From the tree on the left side, validate that the contents of the Compliance Automated Packaging window is correct (e.g., the correct number of patients or the correct number of groups).

-
If the Exception column displays Pkg Start Date required, use the dropdown below for information about resolving this exception.

If not, proceed to step 8.
 Pkg Start Date required Exception
-
Highlight all the prescriptions that require the same package start date and select Package Options.
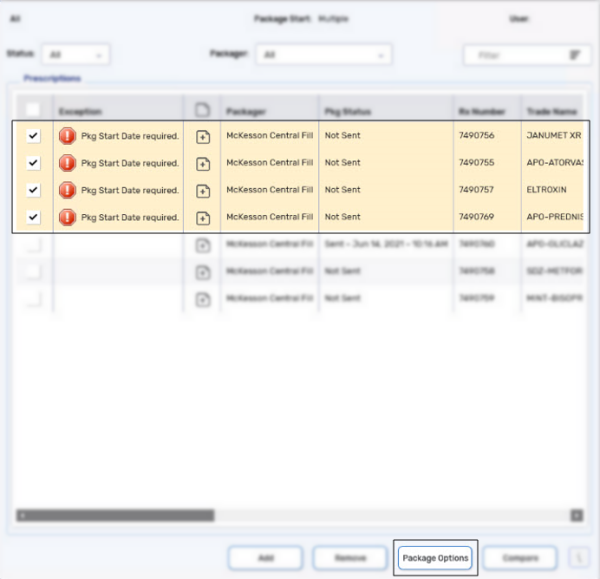
The Package Options window appears.
-
Select a Package Start Date.
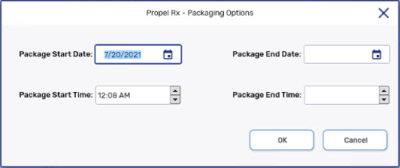
Package Start Time, Package End Date and Package End Time are optional.
-
Select OK. The window closes and the exception is removed.
-
-
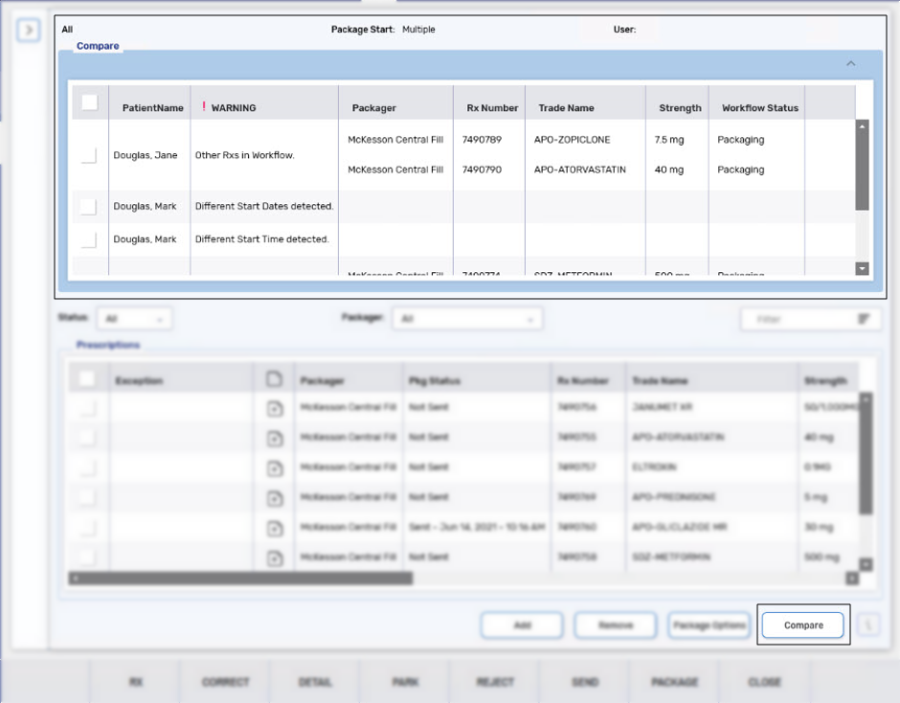
Select Compare. A new section displays at the top of the screen.
-
Review any warnings that display in this section and action accordingly. For more information, see Compare Functionality.
-
Highlight all prescriptions by select the checkbox in the column header and select Send.
Any prescriptions that are selected then removed from view because of a filter will remain selected. Ensure the intended prescriptions are selected before transmitting the file.
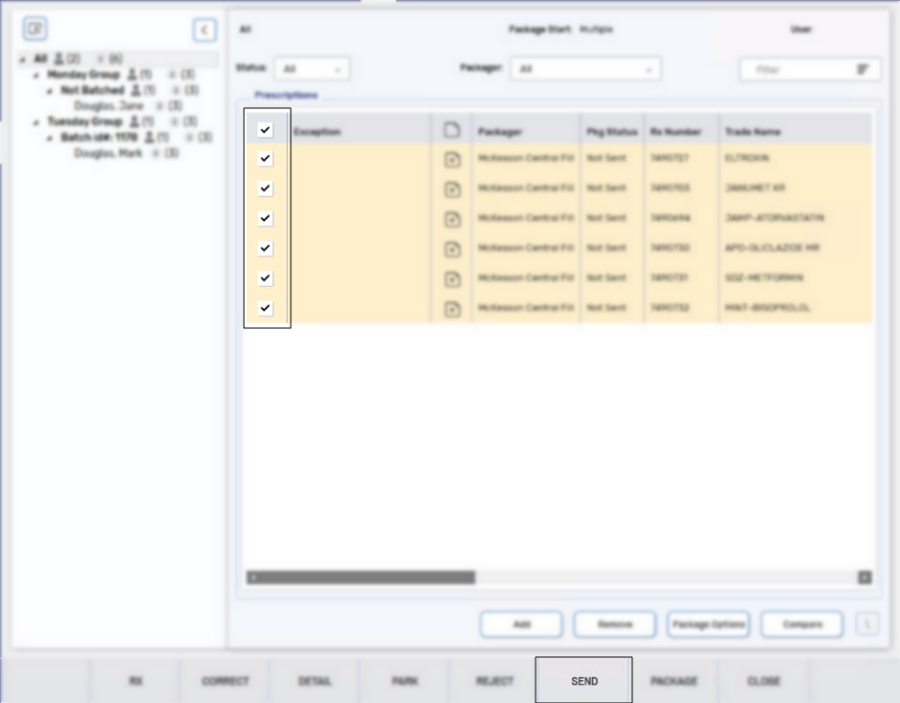
A validation prompt appears.
-
Select Yes to send all highlighted prescriptions to the packager. The Pkg Status column is updated to reflect the sent date and time.
-
Select Close. Prescriptions will remain in the Packaging queue under the Compliance tab.
Signing for Narcotic, Controlled, Targeted Substances on PharmaClik
After you have submitted an order to Central Fill, you must sign for any narcotic, controlled, or targeted substances in PharmaClik if they were transmitted in the order.
To sign for narcotic, controlled, or targeted substances:
-
Log into PharmaClik using your Central Fill username and password.
-
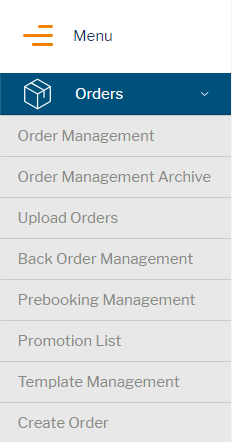
Select Orders > Order Management.
-
If more than one open order exists, select the Submit all EDI order button.
-
If only one open order exists, select the folder icon to view it in detail.
-
-
Select Continue Checkout to move through the checkout process.
-
At the Signature section, select the appropriate pharmacist's record from the dropdown.
-
Select Continue Checkout. You will receive a success message when your signature has been successfully accepted.
